CS2: Weapon & Skins Plugin (!ws)
Lately, there's been a rise in CS2 plugins enabling the server-wide use of skins, knives, and gloves, regardless of whether a player owns them or not. This article delves into the associated risks of these plugins while offering an alternative plugin for those willing to install them despite the deviation from Valve's guidelines.
In this article
Background / Risks
Skinchanger Plugin
Install these plugins at your own risk. Read the background section for more information. Note: Installing these plugins can have a negative impact on server performance.
There is a plugin known as CS2 WeaponPaints that appears to make it possible to change skins, gloves, and knives. Since we, DatHost, are not associated with the plugin, please follow the instructions on the creator's page instead: WeaponPaints installation.
WeaponPaints can be downloaded at: CS2 WeaponPaints releases.
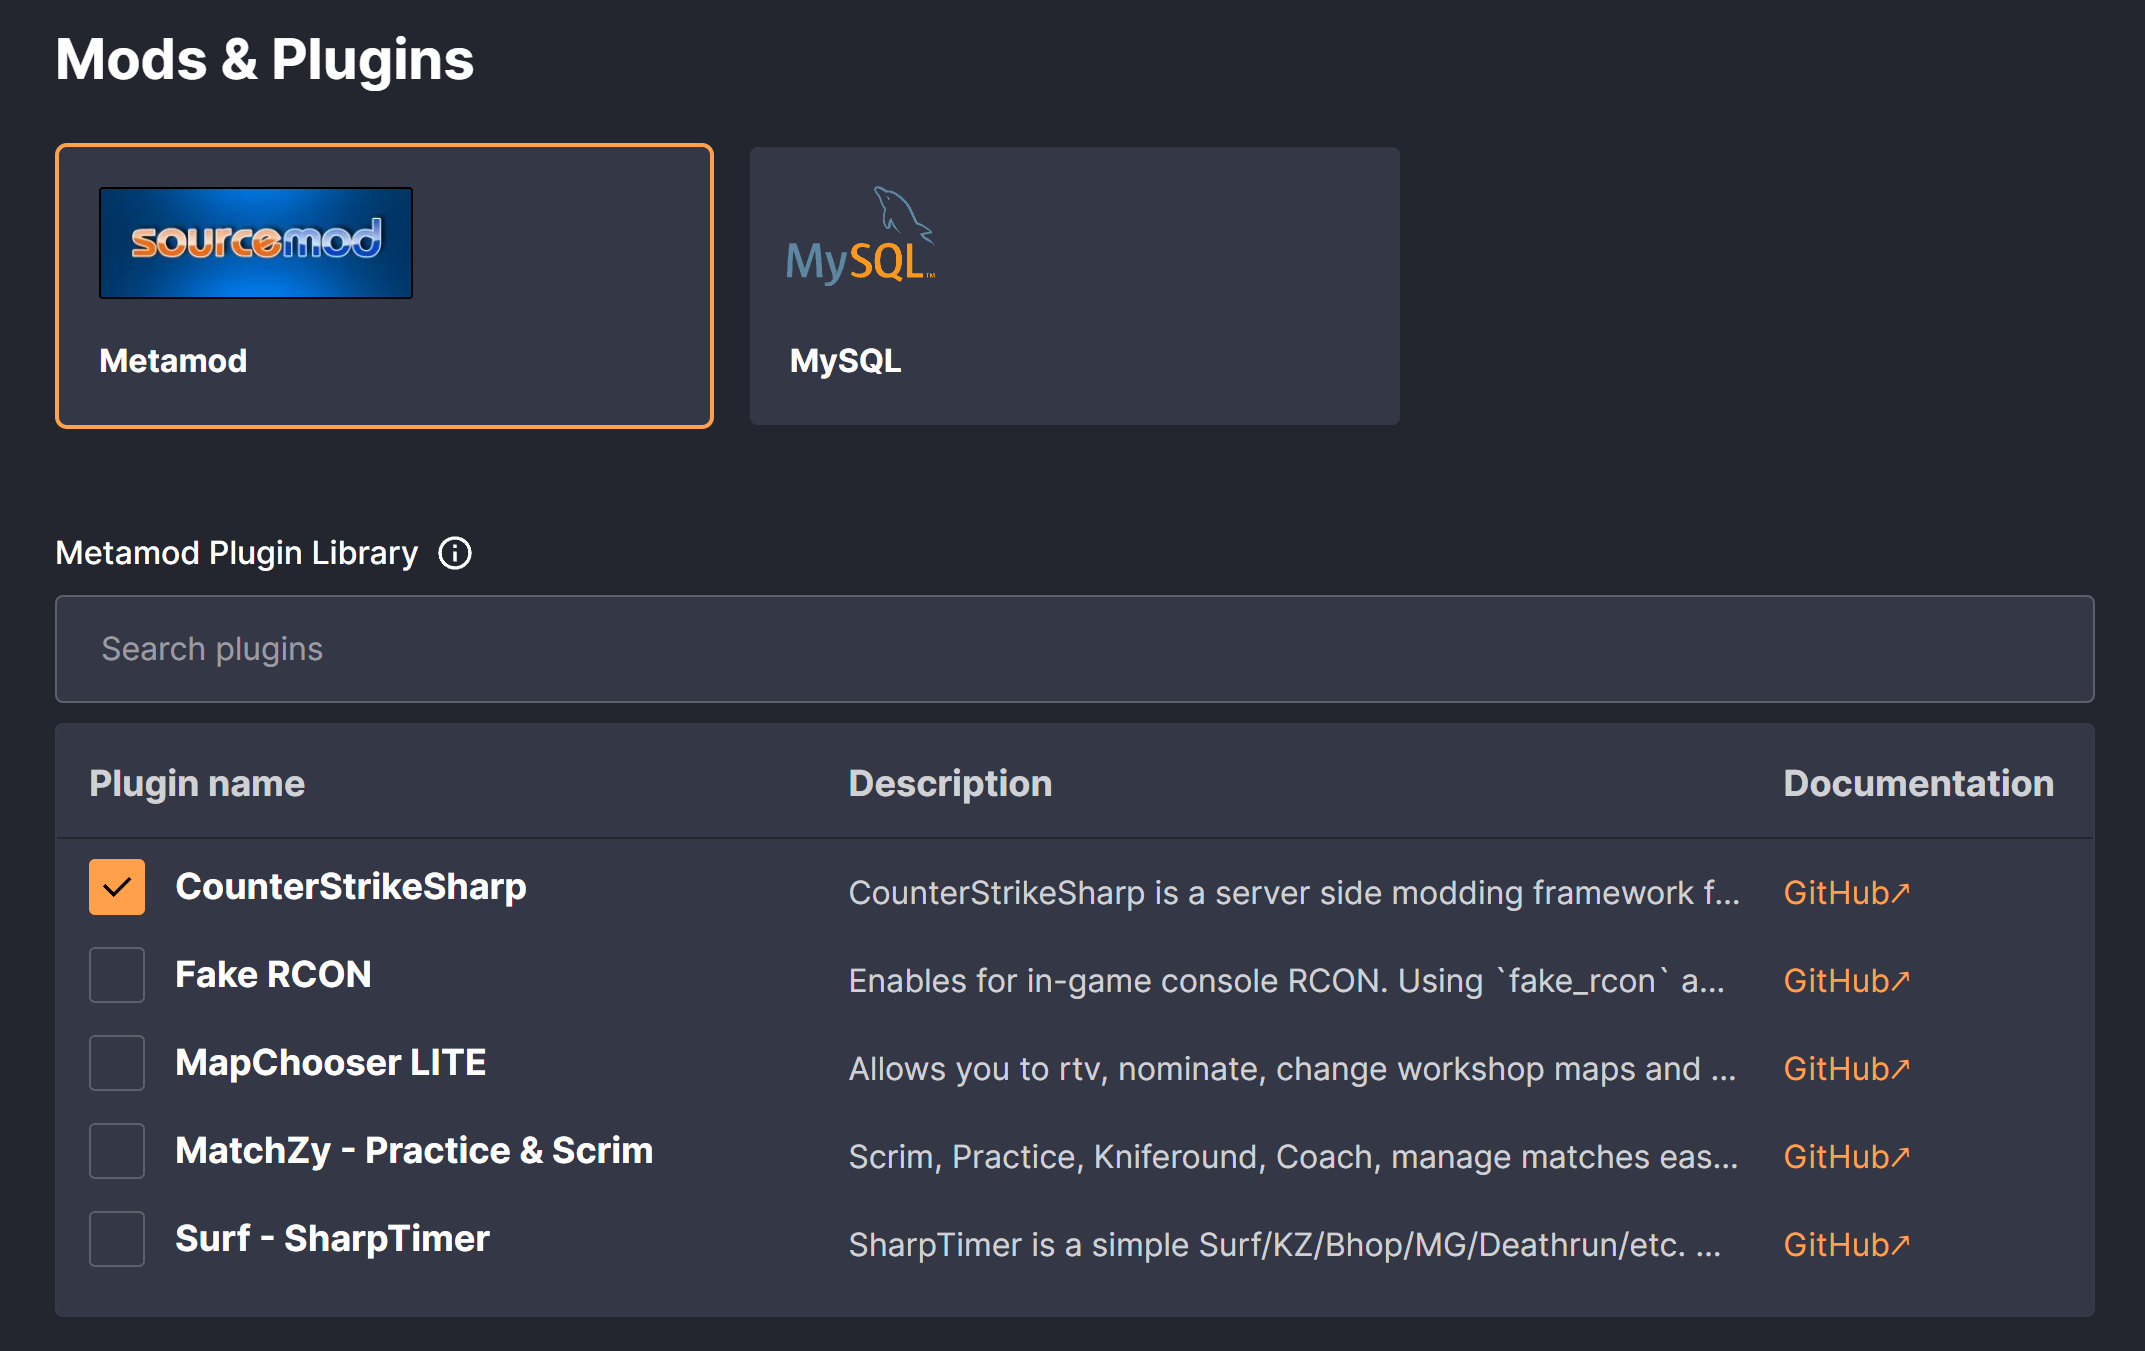
This plugin will require CounterStrikeSharp to be installed. You can activate it in our one-click installer found on the Mods & Plugins page.