CS2: Custom and Workshop maps
Valve introduced workshop map functionality on September 3rd, enabling the hosting of custom maps on CS2 servers without any additional requirements. In this guide, we will show you how to configure your server for hosting workshop maps.
In this article
The conventional method of hosting custom maps, involving FastDL and manually transferring maps to the server directory, is no longer supported. Valve has opted to exclusively support workshop maps, eliminating the need to download and upload maps to your server, as all of this is now managed by Steam's workshop.
Host a Single Workshop map on your CS2 server
- 1
-
Go to the CS2 workshop and find a map you would like to host on your server.
Click on the workshop map-page. - 2
-
In the URL of the workshop map you have selected, copy the last digits, the Workshop ID.

- 3
- Go to the DatHost Control Panel and click Edit on your CS2 server.
- 4
- Navigate to the Settings page found in the left menu.
- 5
-
Under the Maps source parameter, select "Single Steam workshop map".
Now enter the Workshop ID you copied earlier.
- 6
- Click Save & Reboot.
- 7
-
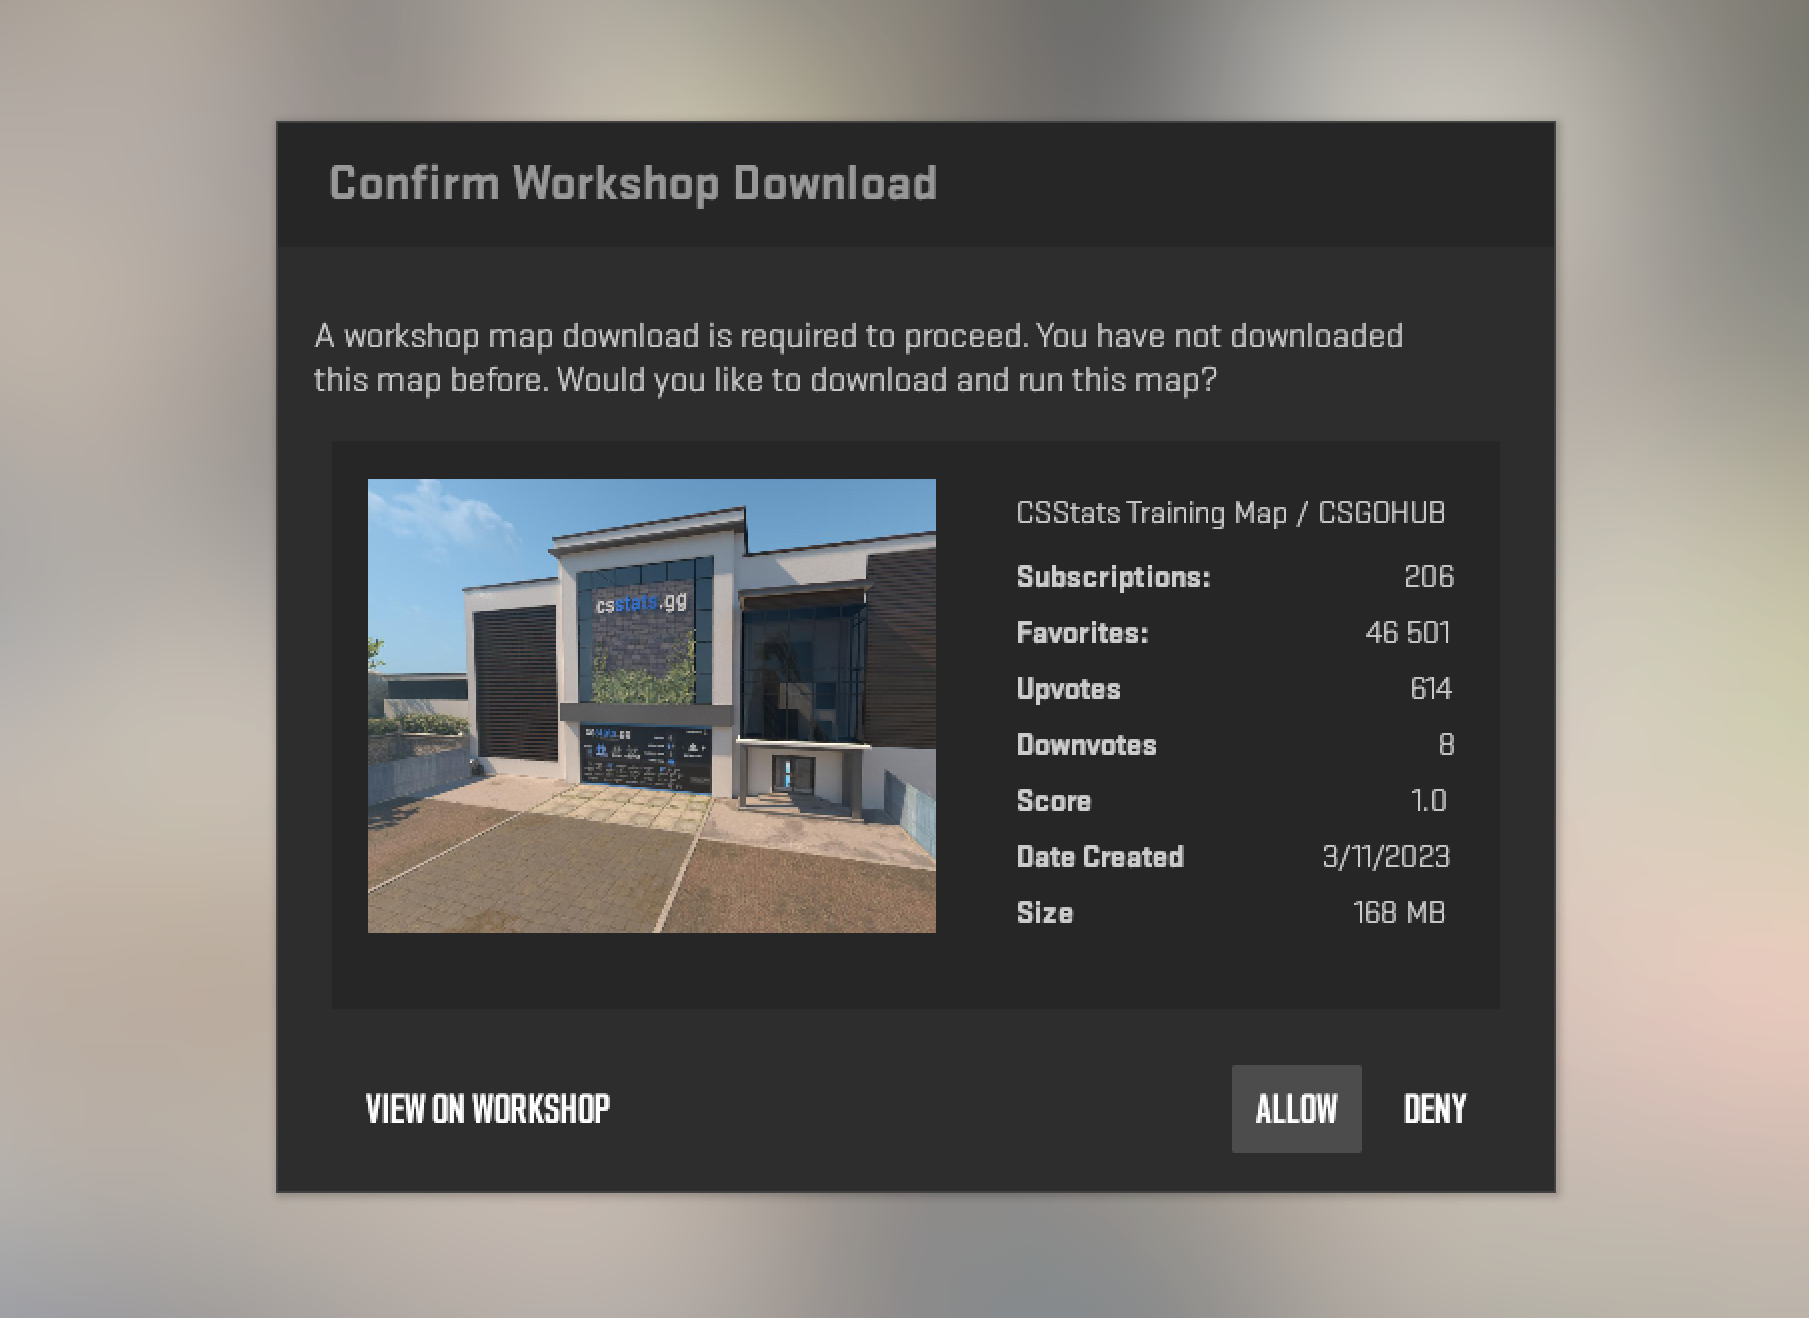
Done! When connecting, you will have the option to accept or decline the Workshop map installation.

Create and host a Workshop Collection
- 1
-
Go to the CS2 workshop and find some maps you want to add, usually by searching for surf, kz_, or whatever maps you like. Subscribe to the maps you want to add.
Make sure to test the map before adding it to your collection. If a map is non-compatible or broken, the whole collection will break. - 2
- Create a CS2 collection by clicking Browse → Collection → Create Collection on the right side - or click this link.
- 3
- Enter the details needed and click Save and Continue.
- 4
- Click on the Subscribed Items Tab and add the maps you want by clicking the plus sign. When done, click Save and Continue.
- 5
- Click the Publish button at the top.
- 6
-
Get the ID of your collection. If you look at the URL bar on your collection page the last series of digits is your collection ID. Copy this number.

- 7
- Go to your Control Panel at DatHost → Click Edit on your CS2 Server → Go to Settings
- 8
-
Change Maps Source to Workshop, and then paste your collection ID in the field for Workshop collection ID.

Setting a start map for the Workshop collection is currently not supported by Valve. We will update the instructions here once it is possible. - 9
- Click Save & Reboot.
Workshop Commands
Listing and switching between maps isn't as it was for CS:GO. Now, there are other commands for functions related to CS2 Workshops.
- ds_workshop_changelevel - Will change the workshop map by name.
- ds_workshop_listmaps - Will dump a list of workshop maps available on the server.
- sv_workshop_allow_other_maps - During a workshop collection, users can play other maps on the server when empty and add them to the collection's map cycle.
