Minecraft: Installing modpacks using the CurseForge App.
In this guide, we will go through everything you need to know to get started with installing modpacks via the CurseForge App in Minecraft.
In this article
Installing the CurseForge App
- 1
- Go to the CurseForge App Download Page
- 2
- Download the app and follow the instructions to install it on your computer.
- 3
-
Start the app, create a new account or sign in to your current one, and choose Minecraft in the list of games.
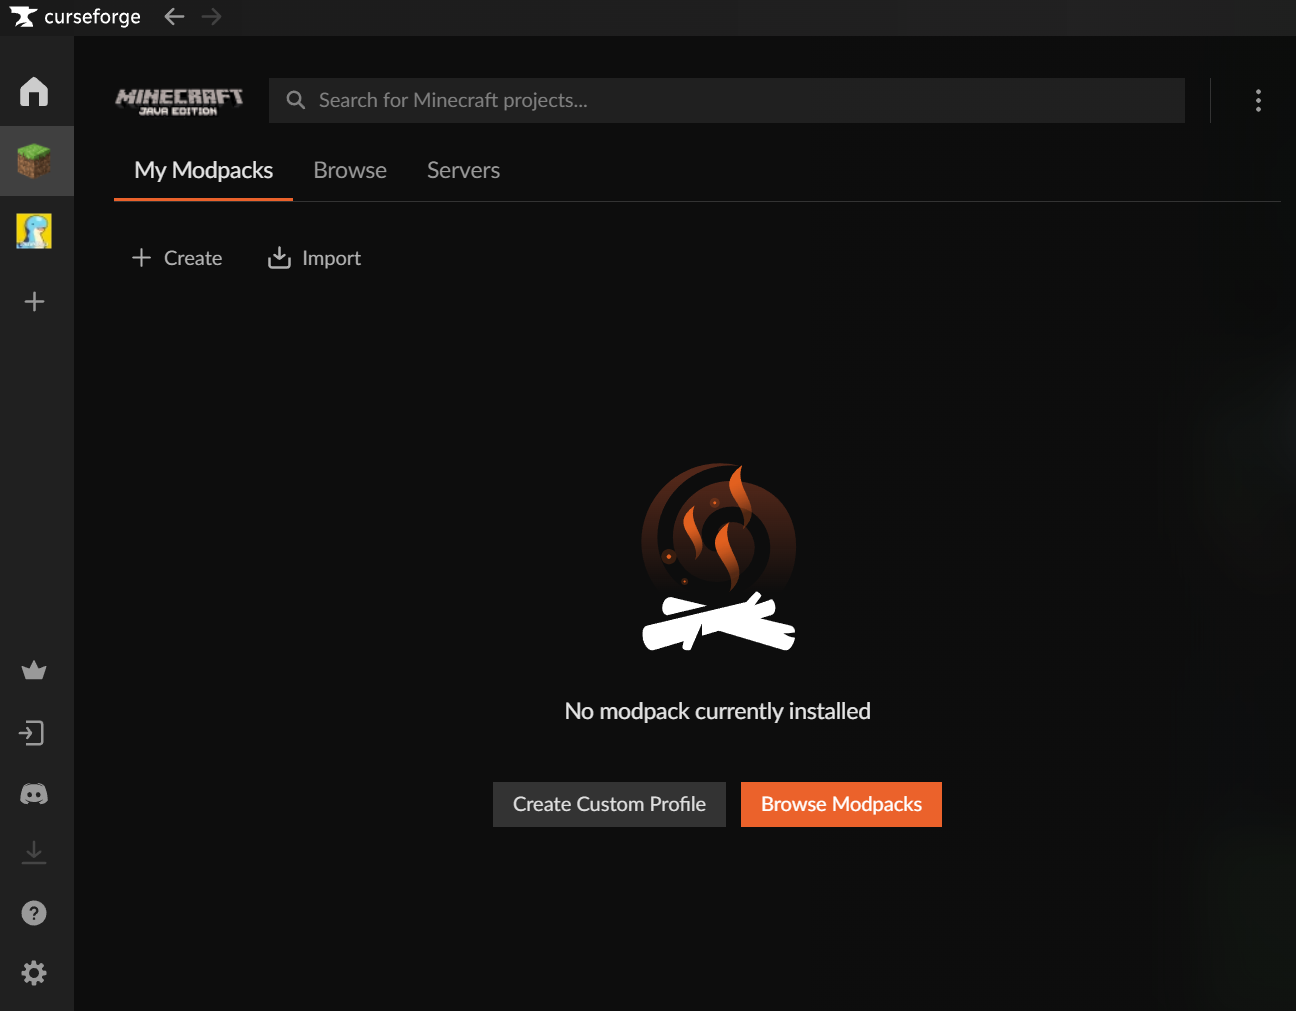
Now we're ready to install some modpacks!
Find and install modpacks
- 1
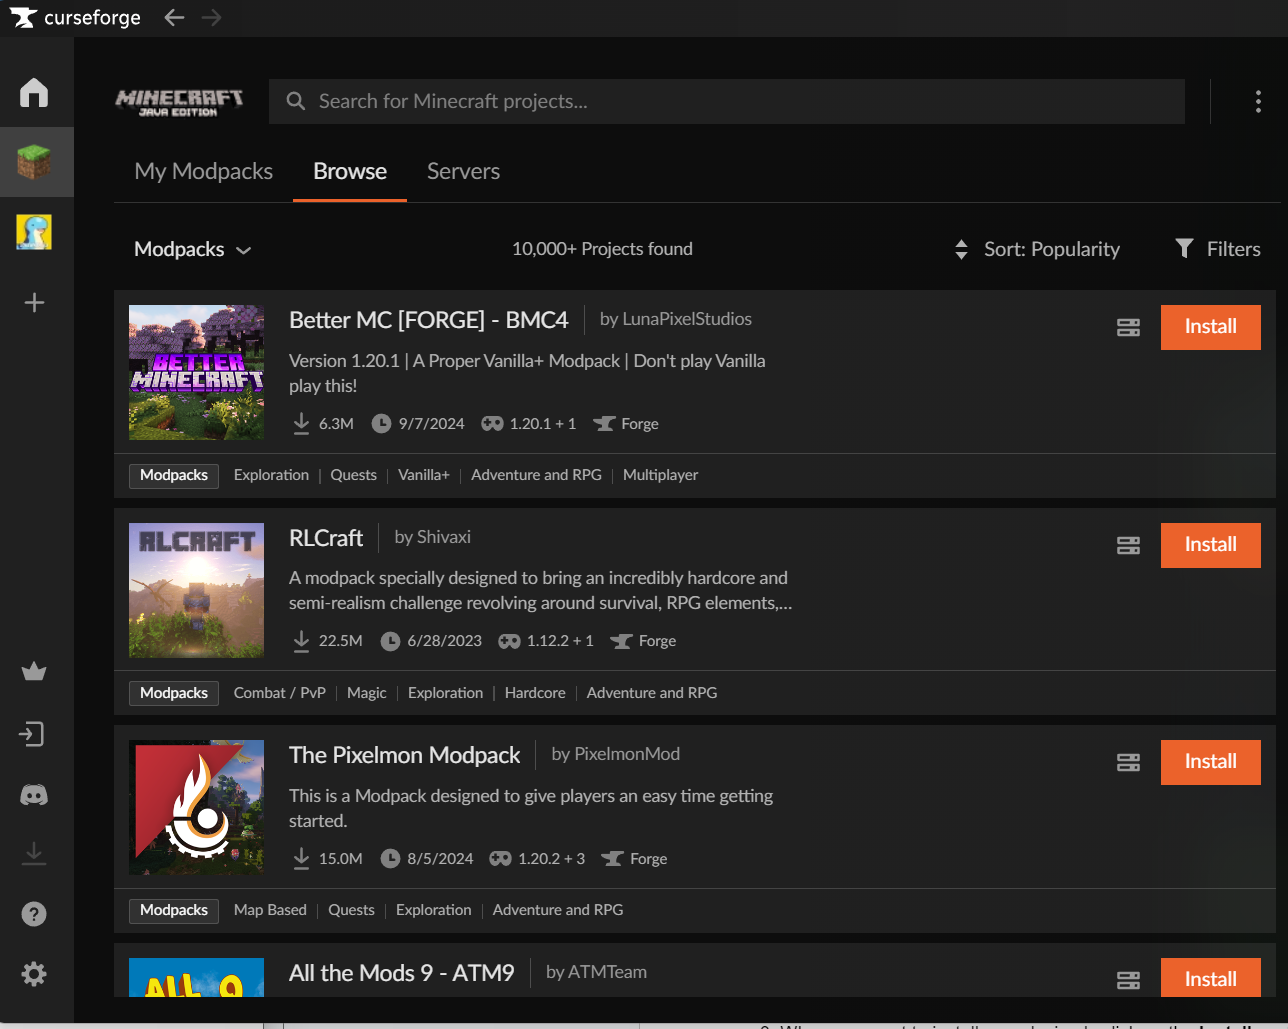
- Select the Browse tab.
- 2
- Search around for some mods that you are interested in.
-
Tip: You can Sort the list by "Popularity" to find the most popular mods - 3
-
When you want to install a modpack, simply on Install next to your chosen mod.
-
Done! To start playing the modpack, switch back to the My Modpacks tab, highlight the modpack, and click Play.
Uploading a modpack and configuring your DatHost Server
- 1
-
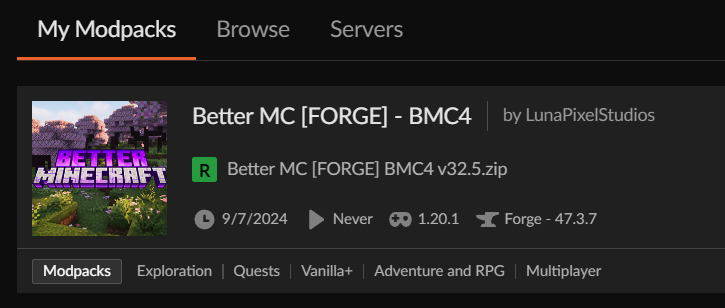
Click on the modpack and check the Server Version and the Server Type. In the following example, the Server Version is 1.20.1 and the server type is Forge.
- 2
-
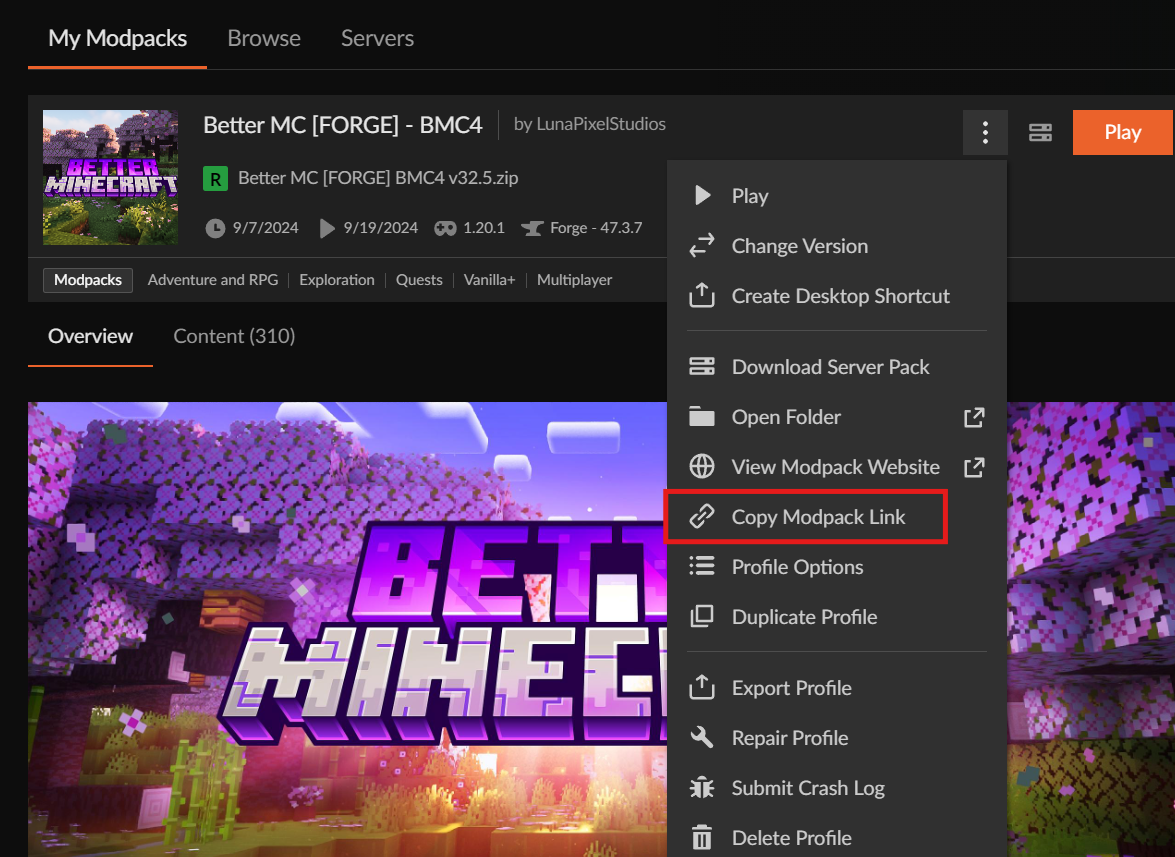
Click on the three dots next to the Play button and select Copy Modpack Link.
- 3
- Go to the DatHost Control Panel and click Edit on your Minecraft server.
- 4
-
Navigate to the Server Type tab on the left. Set your Server Type and Server Version to the corresponding values as you checked in step 1. Click Save.

- 5
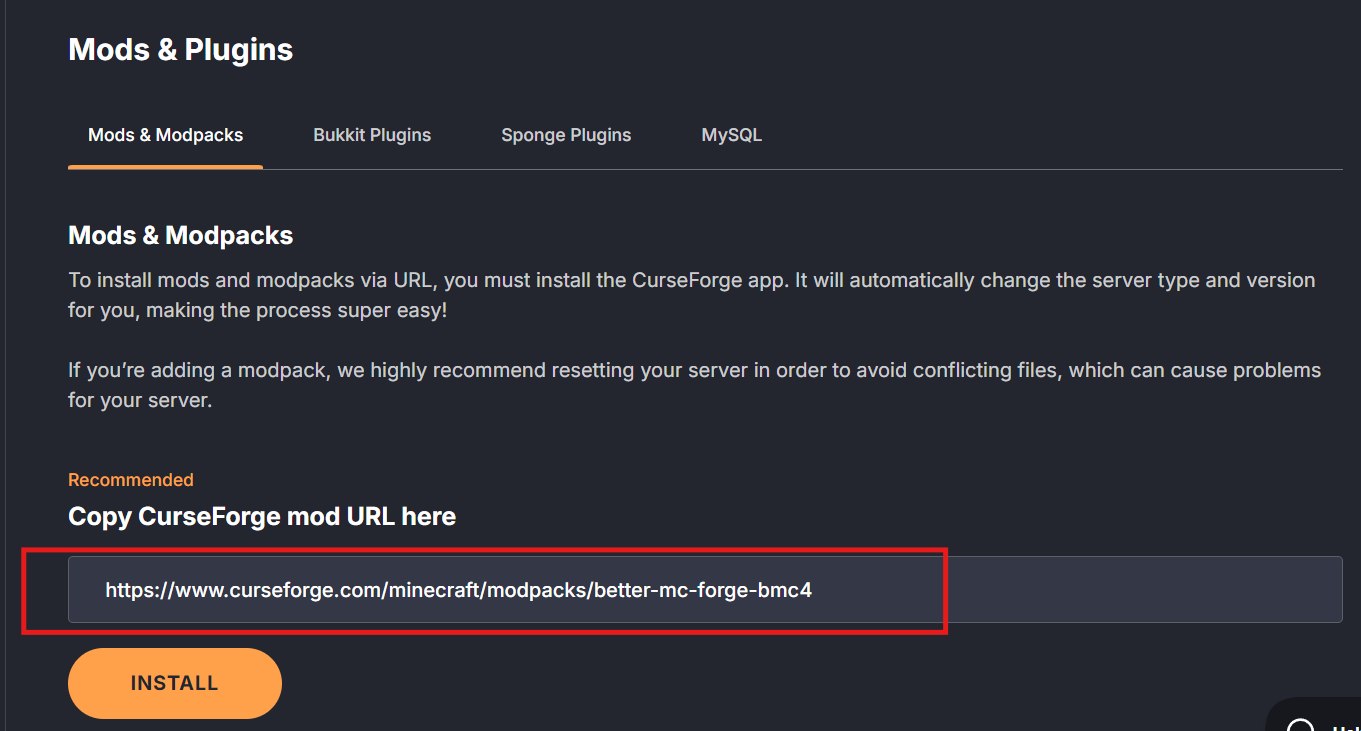
- Navigate to the Mods & Plugins tab in the left panel.
- 6
-
Navigate to the Mods & Modpacks tab, and paste the link you copied in step 2.
- 7
- Reboot the server.